
What the Heck is Gua Sha?
Most people at this point are familiar with jade or crystal rollers, but what the heck is gua sha??? I'm happy this is becoming more trendy, it’s bringing more awareness to all the home remedies aiding with puffiness, lymphatic drainage and anti aging.
Gua Sha has a similar vibe to jade rolling, but is pretty different at the same time. Gua Sha is a Chinese medicinal practice that translates to “scraping, spooning.” It involves a tool to intensely scrape against the skin, increasing circulation, blood flow and overall cell activity. It can be performed on any surface of the body, however I only have used this method on my face. The practice of body work vs facial work is VERY DIFFERENT. The body work tends to be more aggressive and intense. If you dare to Google the images, you can see the post treatment bruising that occurs. Don’t worry, the practice for facial gua sha is actually relaxing!
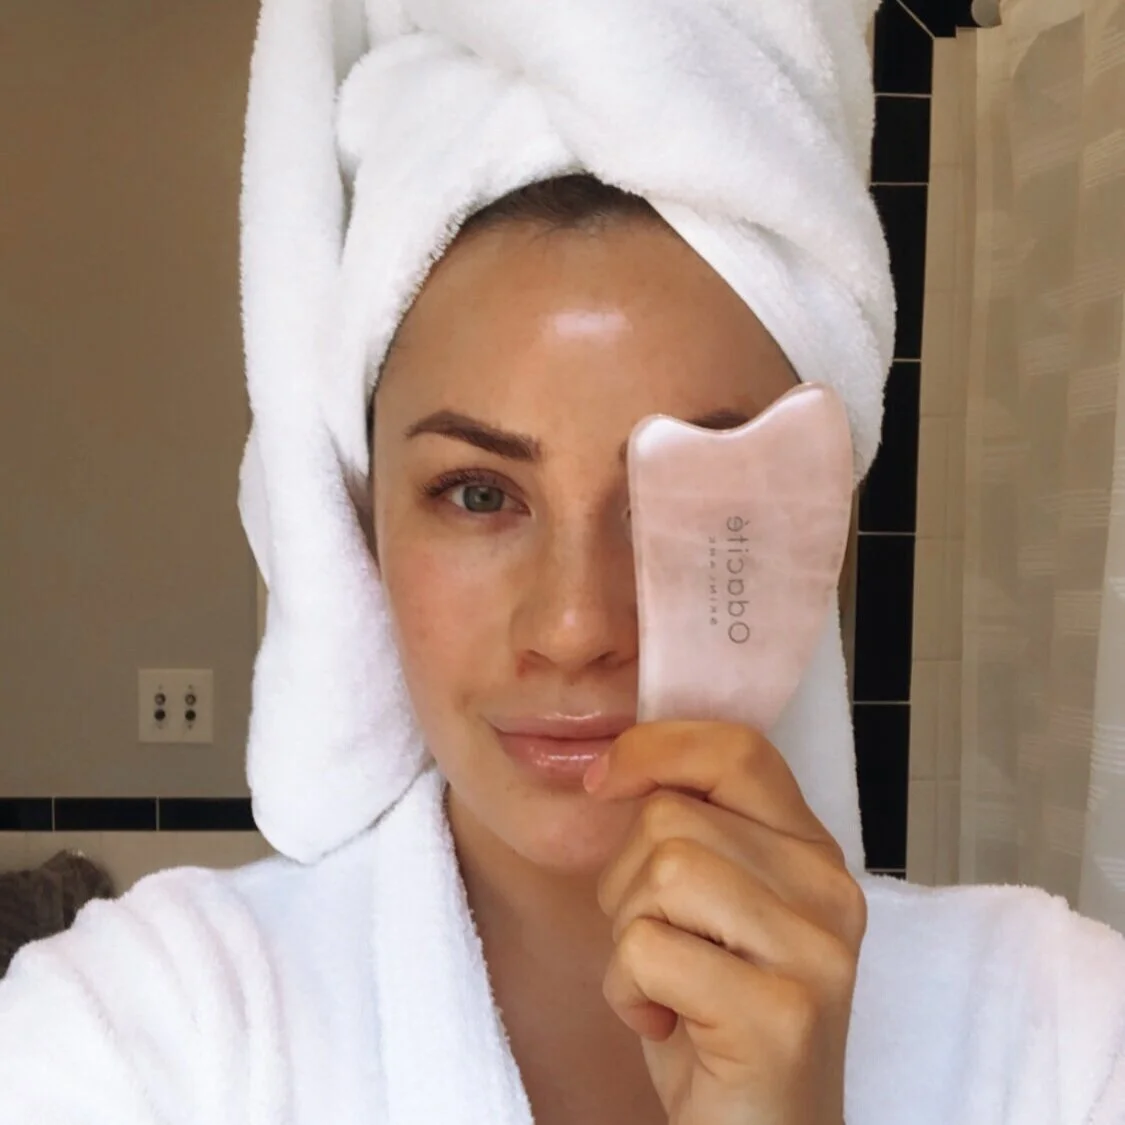
It’s important to use a tool that suits the natural shape and meridians of your face. There are many tools out there but my favorite is this one.
This is my trick whenever I travel or am hungover and need to get the puffiness down ASAP. Gua sha is a very effective way to de puff, smooth and tighten the overall appearance of skin. I love it because you can instantly see the difference. It’s amazing, k?
How to
Make sure skin is clean and primed with an oil, serum or moisturizer. A little lubrication always helps.
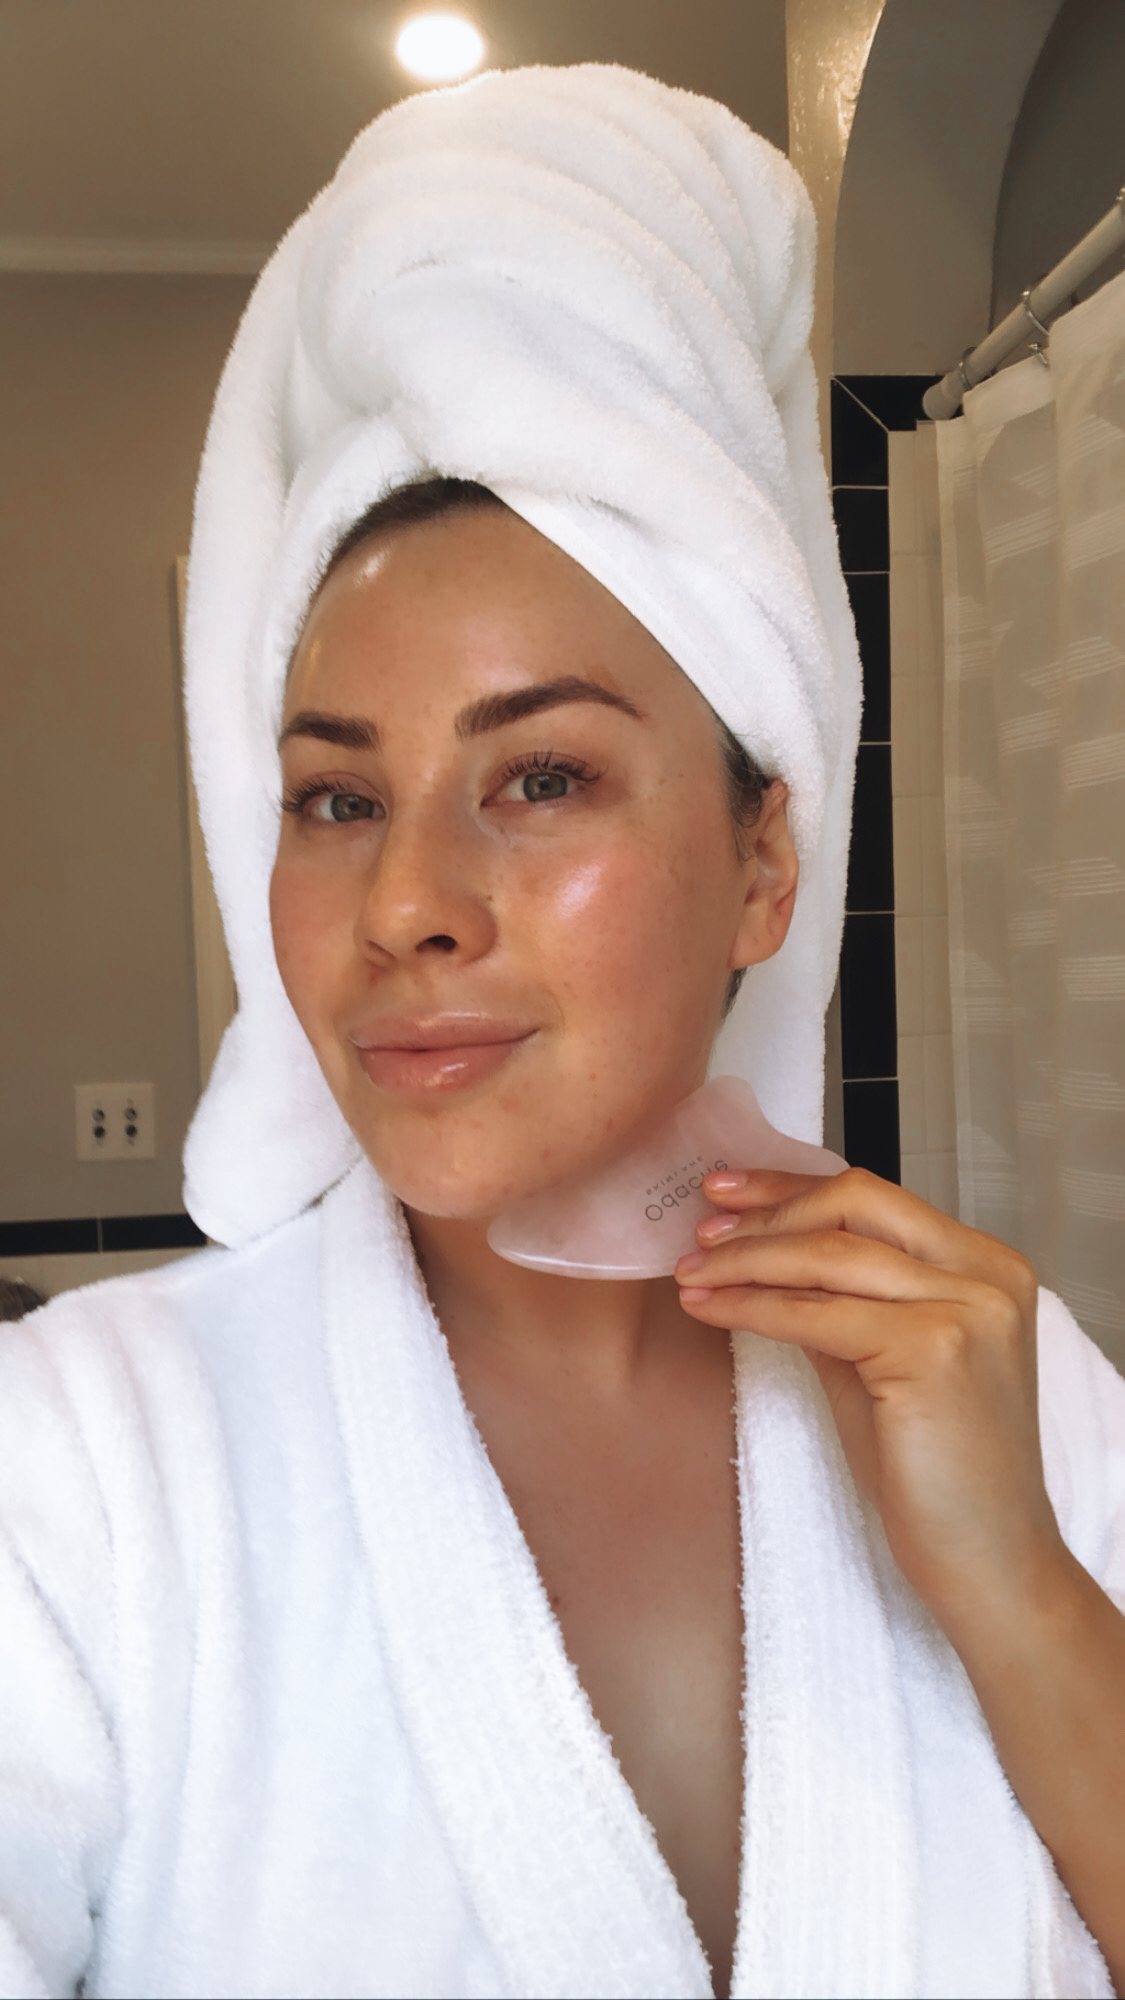
Start at the base of your neck and swipe down away your chin. Choose the angle of your tool with a broader side as to prevent discomfort on the neck area. Swipe up at least 3-5x on each portion of the neck.
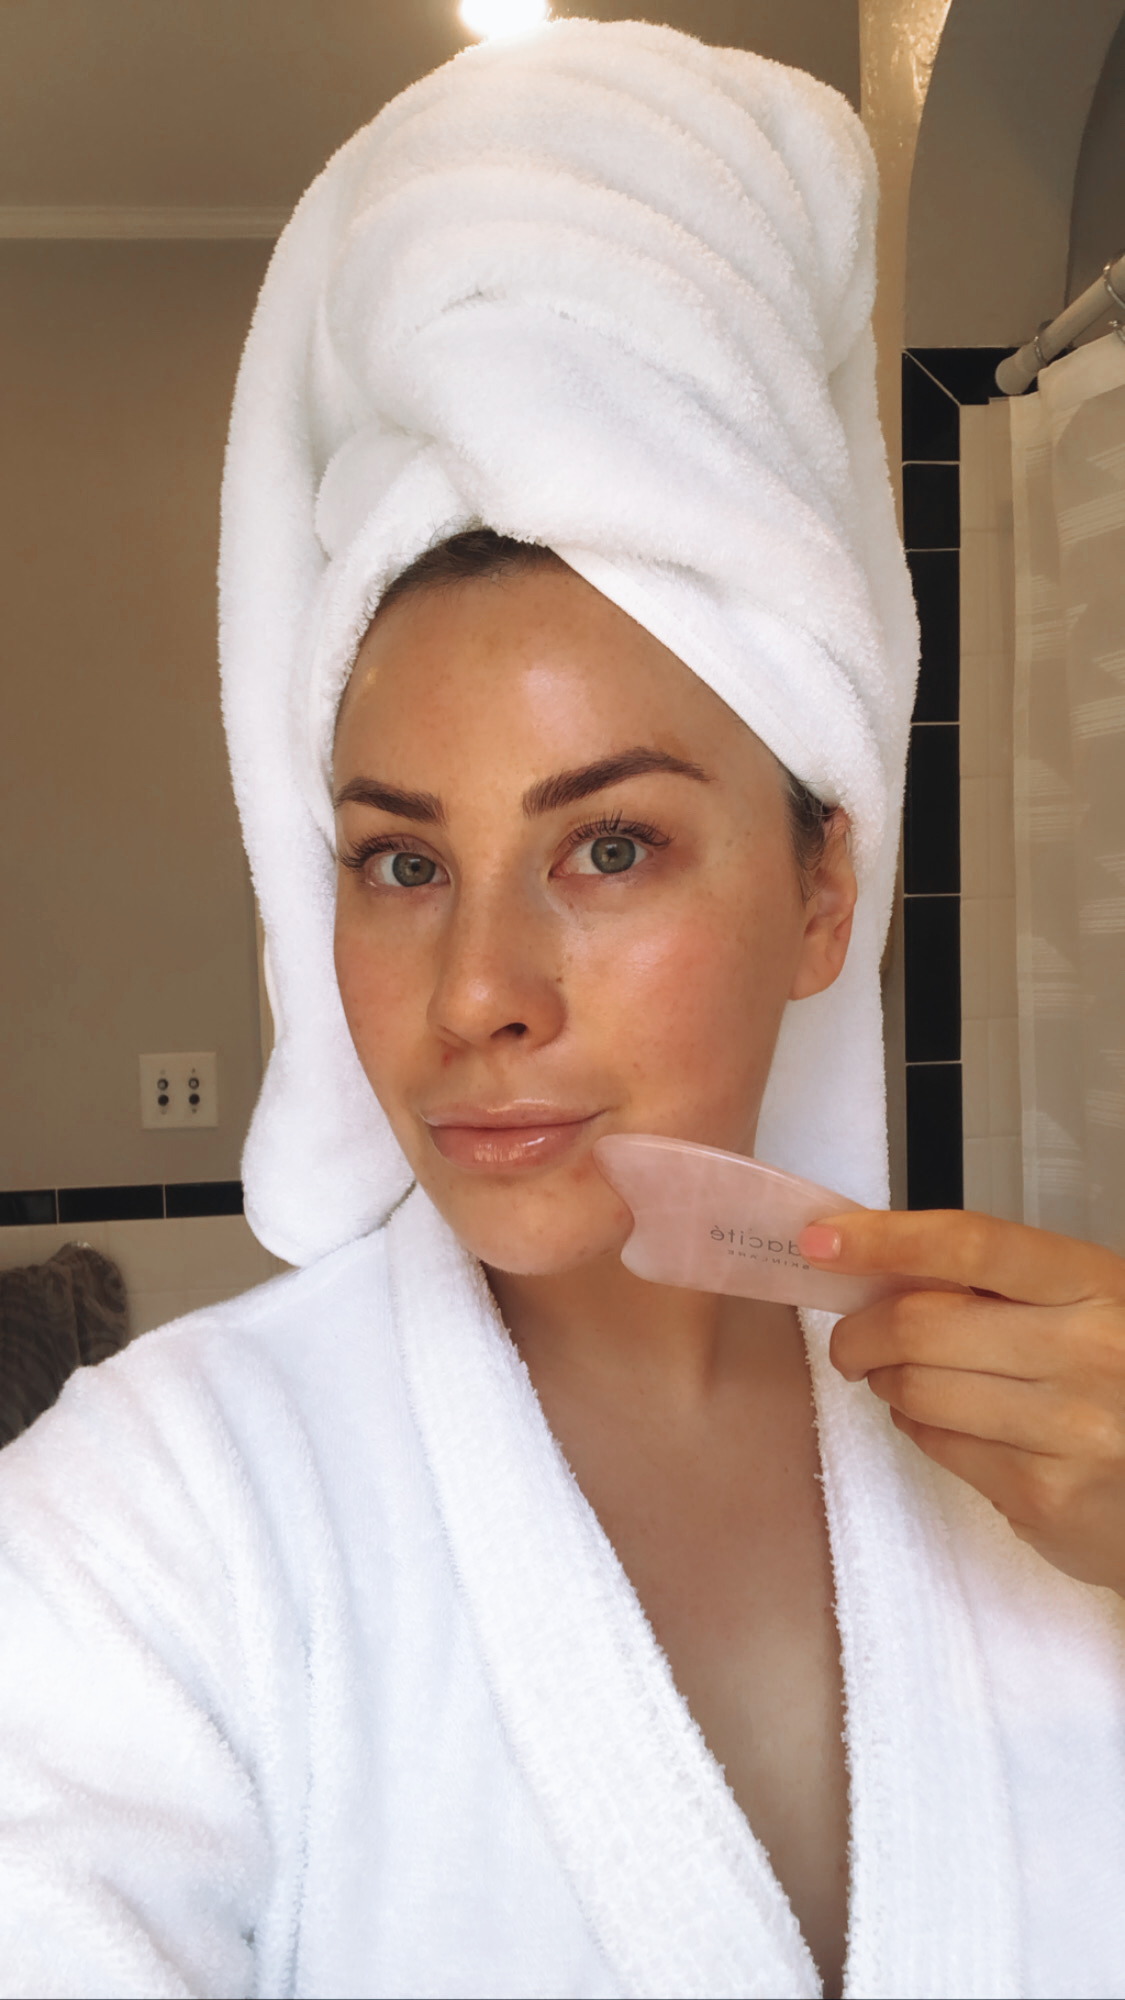
Now for the chin and jaw. Starting in the mid point of your chin, swipe along the jaw line all the way up to right before your ear. Repeat on both sides of the face with 3-5x swipes.
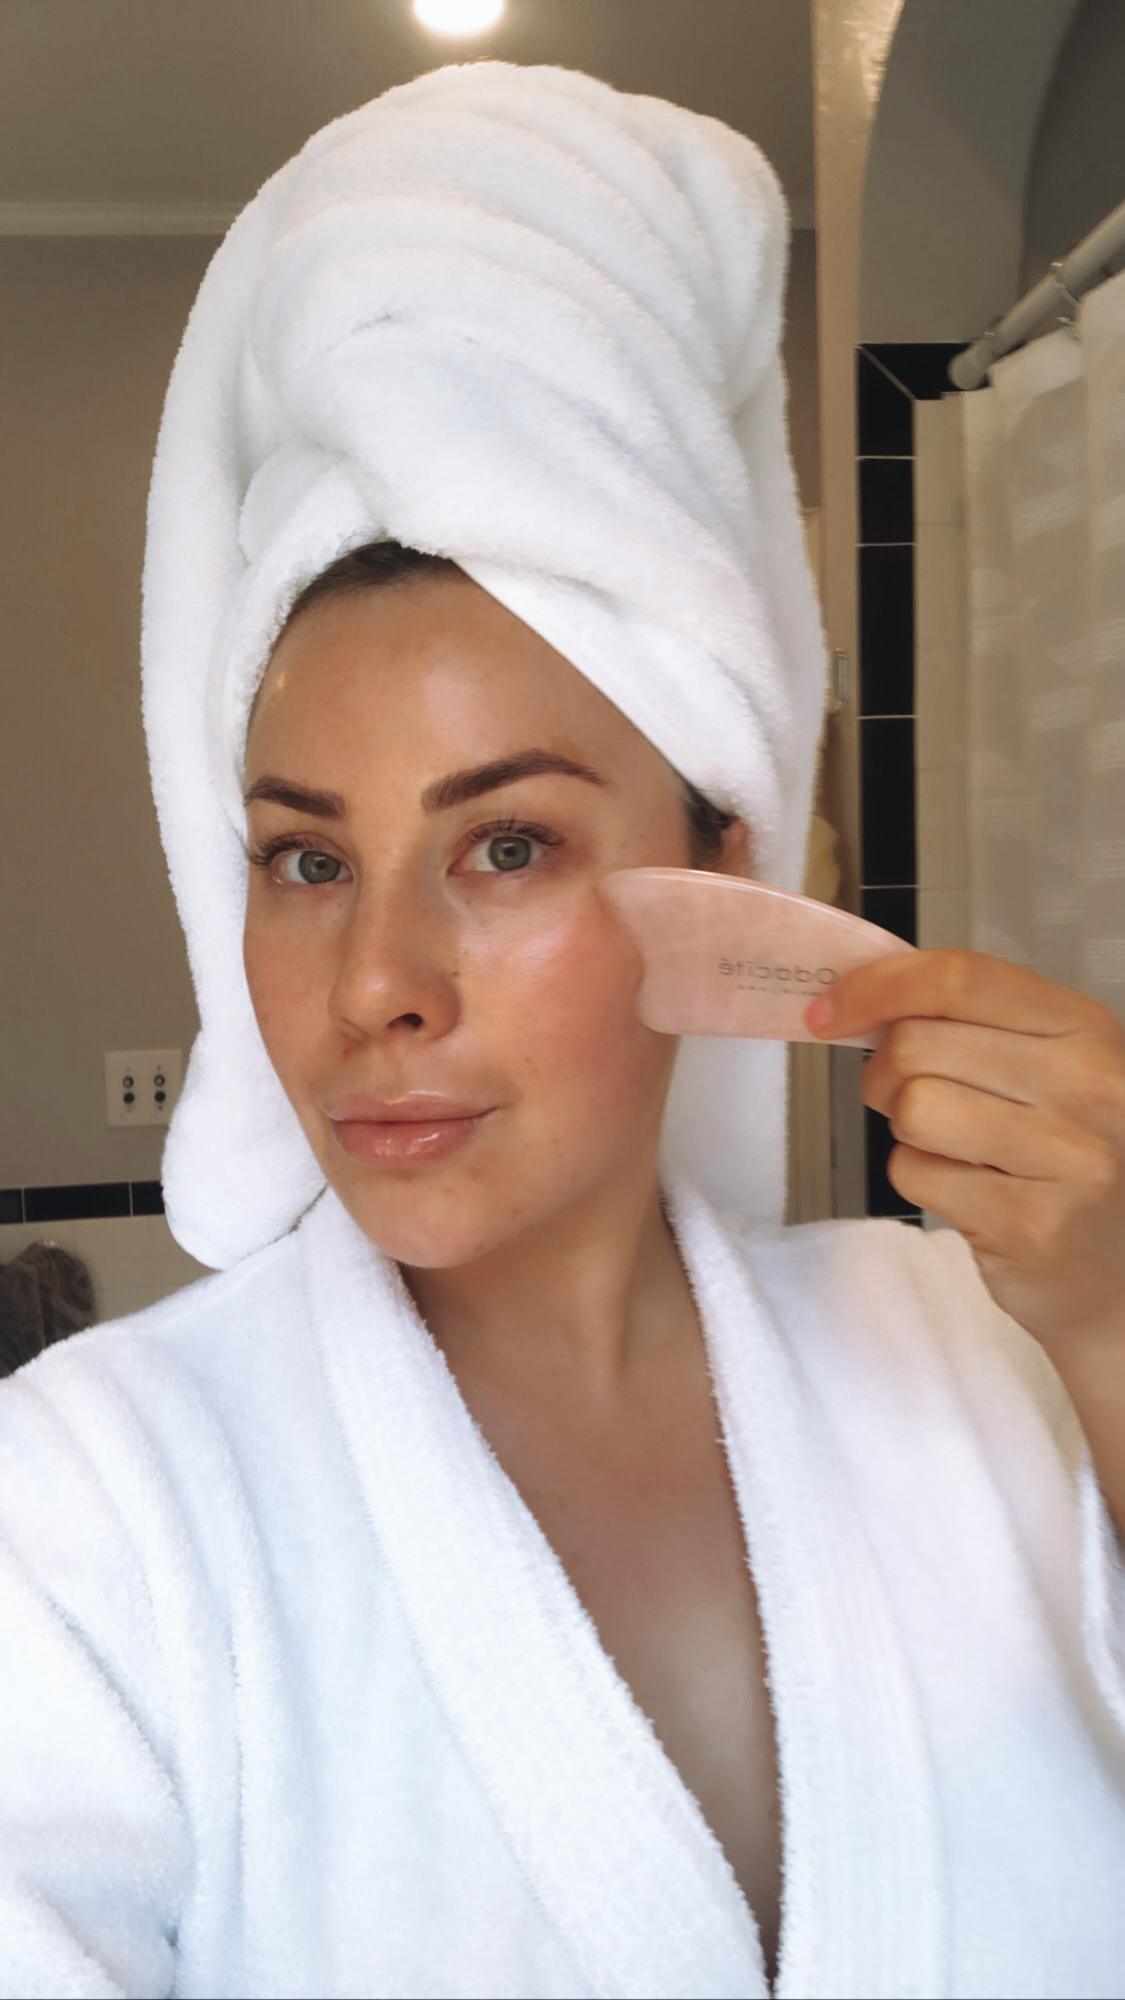
Next, the under eye and cheekbones. Using one of the smaller grooves of your tool, start next to your nose and swipe up to the temple. Repeat both sides as well.
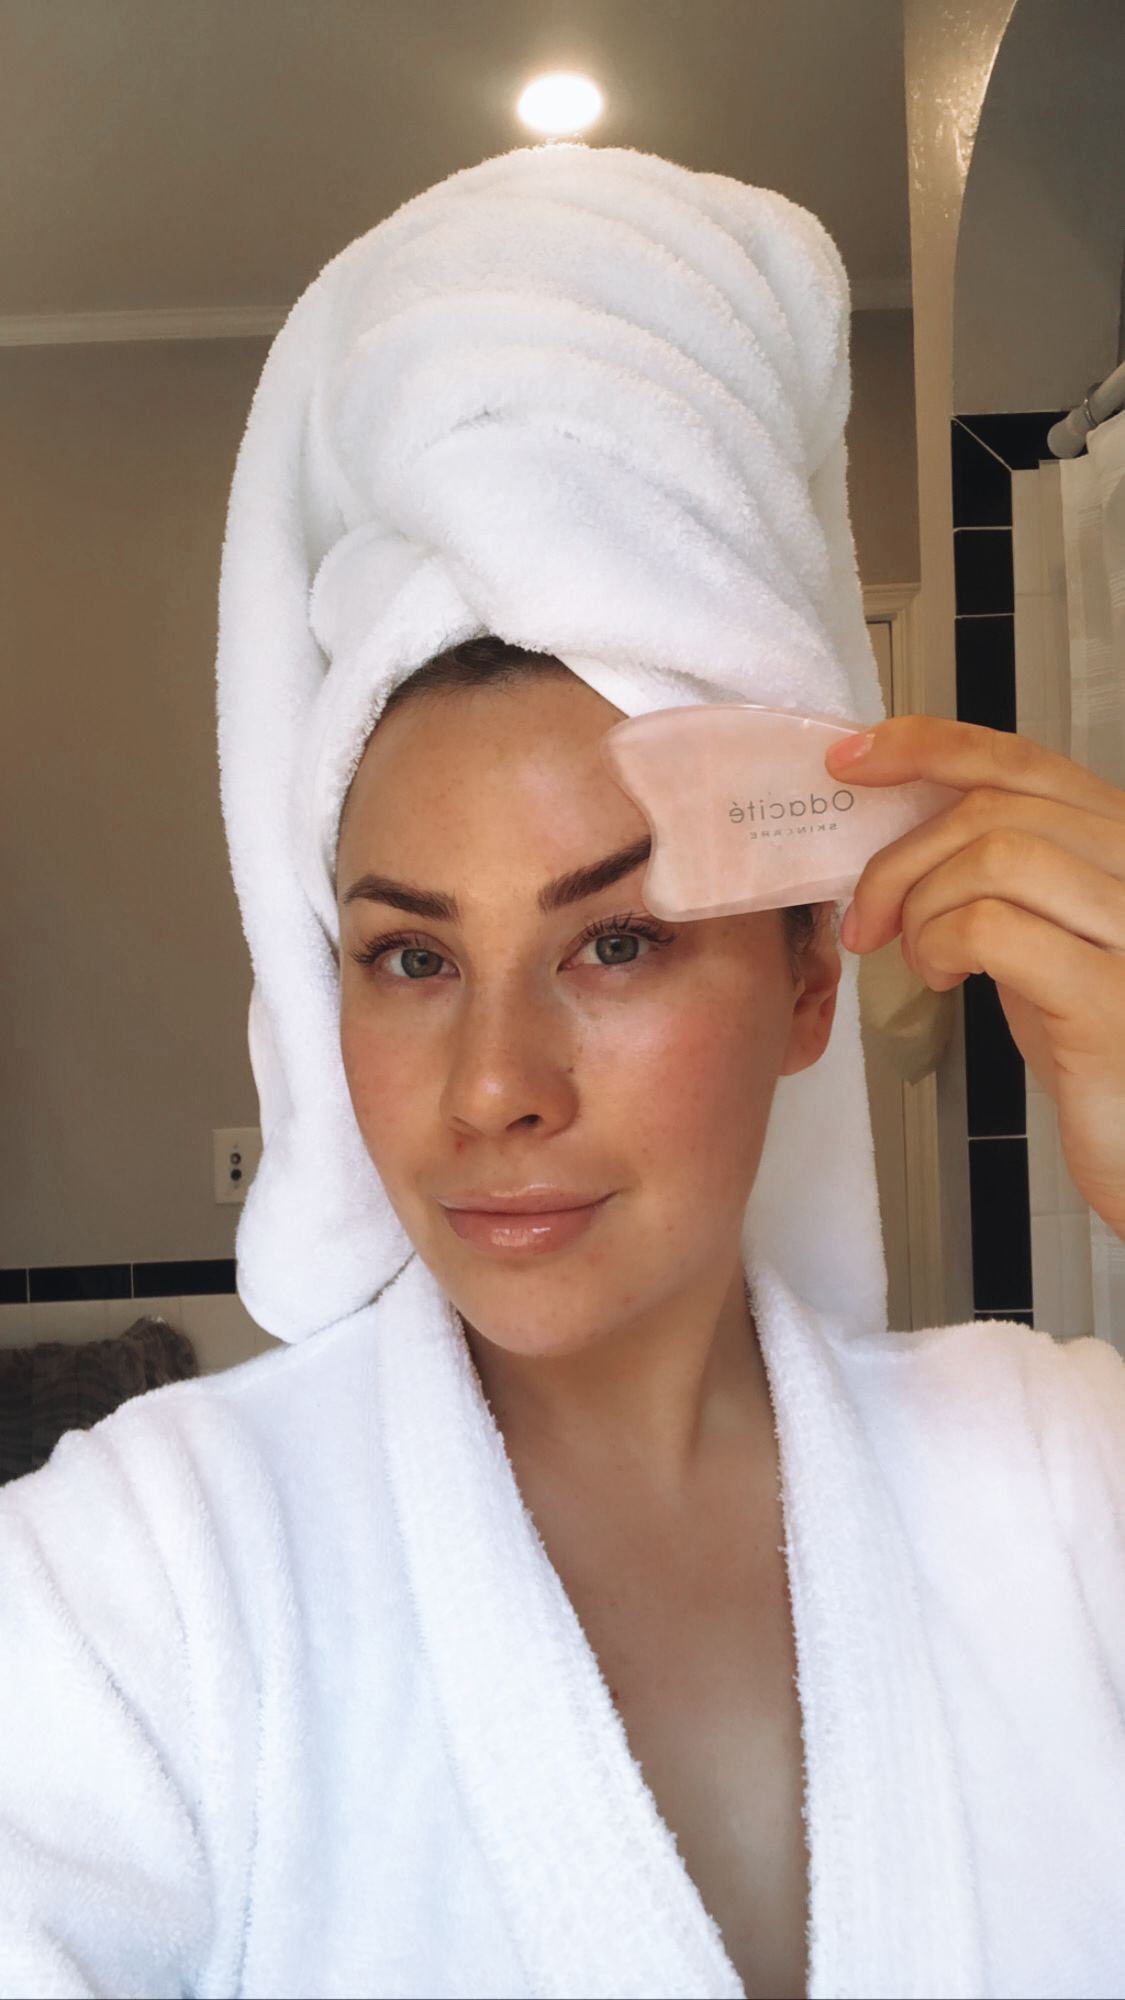
Almost done! Time for the brow bone/upper eyelid. As always, start from the middle of the face and swipe away.
Lastly, the forehead. I use the flattest part of the tool here, starting at the brows and swiping up to the hair line.
Finish up with your normal skin care routine afterward. If you’re like me you may slap on a sheet mask, because you’re extra like that ;)
What to expect after
Redness and and flushed look to the skin. This is totally normal - it means it’s working!
Your skin will feel active. I don’t know how else to describe other than this way - it just feels like things are moving and flowing. Goodbye to puffiness!
A more svelte and lifted look both instantly and overtime.
Reduced fine lines and wrinkles - you can actually train your skin.
Have you tried gua sha? What are your thoughts?
